Spec Workflow MCP


A Model Context Protocol (MCP) server for structured spec-driven development with real-time dashboard and VSCode extension.
☕ Support This Project

📺 Showcase
🔄 Approval System in Action
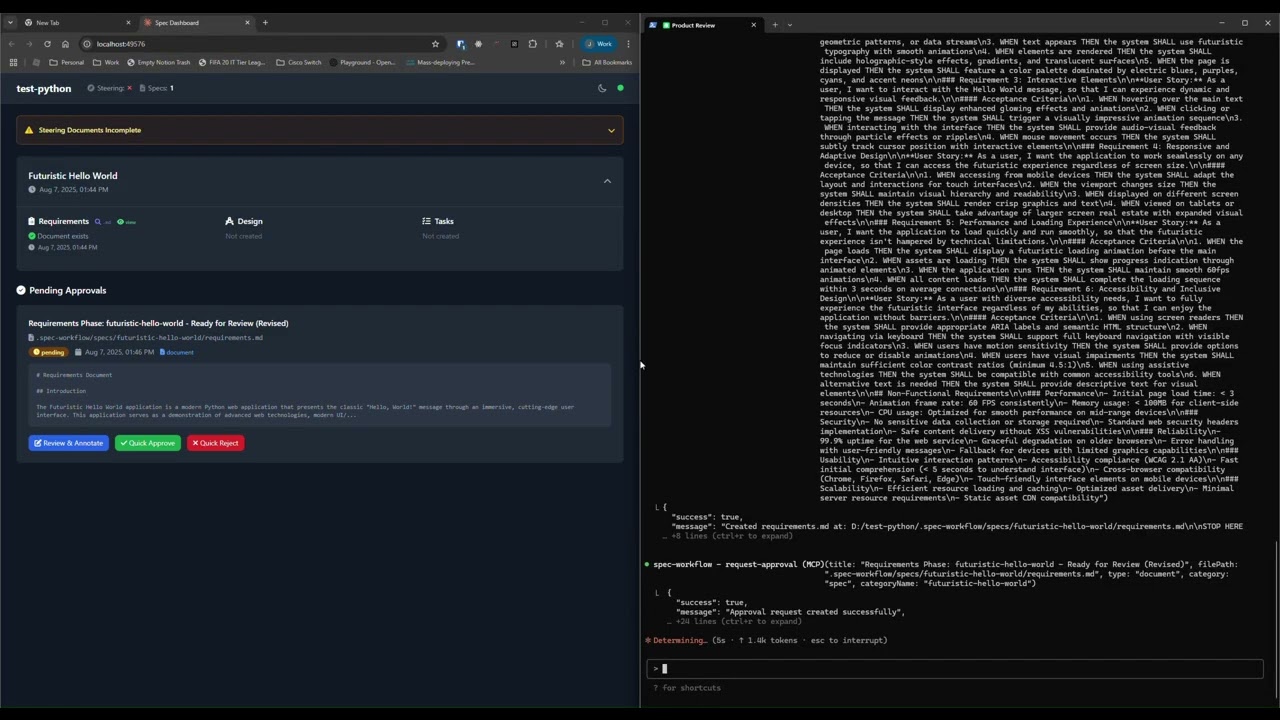
See how the approval system works: create documents, request approval through the dashboard, provide feedback, and track revisions.
📊 Dashboard & Spec Management
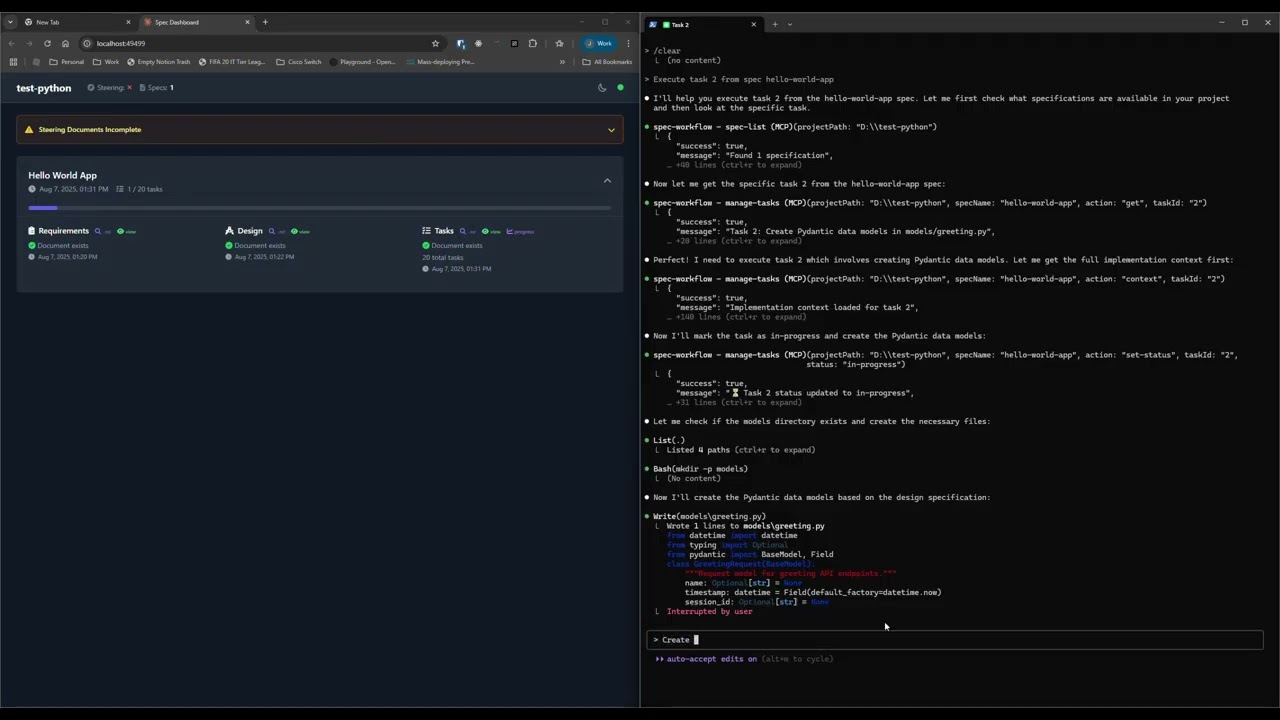
Explore the real-time dashboard: view specs, track progress, navigate documents, and monitor your development workflow.
✨ Key Features
- Structured Development Workflow - Sequential spec creation (Requirements → Design → Tasks)
- Real-Time Web Dashboard - Monitor specs, tasks, and progress with live updates
- VSCode Extension - Integrated sidebar dashboard for VSCode users
- Approval Workflow - Complete approval process with revisions
- Task Progress Tracking - Visual progress bars and detailed status
- Implementation Logs - Searchable logs of all task implementations with code statistics
- Multi-Language Support - Available in 11 languages
🌍 Supported Languages
🇺🇸 English • 🇯🇵 日本語 • 🇨🇳 中文 • 🇪🇸 Español • 🇧🇷 Português • 🇩🇪 Deutsch • 🇫🇷 Français • 🇷🇺 Русский • 🇮🇹 Italiano • 🇰🇷 한국어 • 🇸🇦 العربية
📖 Documentation in your language:
English | 日本語 | 中文 | Español | Português | Deutsch | Français | Русский | Italiano | 한국어 | العربية
🚀 Quick Start
Step 1: Add to your AI tool
Add to your MCP configuration (see client-specific setup below):
{
  "mcpServers": {
    "spec-workflow": {
      "command": "npx",
      "args": ["-y", "@pimzino/spec-workflow-mcp@latest", "/path/to/your/project"]
    }
  }
}
Step 2: Choose your interface
Option A: Web Dashboard (Required for CLI users)
Start the dashboard (runs on port 5000 by default):
npx -y @pimzino/spec-workflow-mcp@latest --dashboard
The dashboard will be accessible at: http://localhost:5000
Note: Only one dashboard instance is needed. All your projects will connect to the same dashboard.
Option B: VSCode Extension (Recommended for VSCode users)
Install Spec Workflow MCP Extension from the VSCode marketplace.
📝 How to Use
Simply mention spec-workflow in your conversation:
- "Create a spec for user authentication" - Creates complete spec workflow
- "List my specs" - Shows all specs and their status
- "Execute task 1.2 in spec user-auth" - Runs a specific task
See more examples →
🔧 MCP Client Setup
Augment Code
Configure in your Augment settings:
{
  "mcpServers": {
    "spec-workflow": {
      "command": "npx",
      "args": ["-y", "@pimzino/spec-workflow-mcp@latest", "/path/to/your/project"]
    }
  }
}
Claude Code CLI
Add to your MCP configuration:
claude mcp add spec-workflow npx @pimzino/spec-workflow-mcp@latest -- /path/to/your/project
Important Notes:
- The
-y flag bypasses npm prompts for smoother installation
- The
-- separator ensures the path is passed to the spec-workflow script, not to npx
- Replace
/path/to/your/project with your actual project directory path
Alternative for Windows (if the above doesn't work):
claude mcp add spec-workflow cmd.exe /c "npx @pimzino/spec-workflow-mcp@latest /path/to/your/project"
Claude Desktop
Add to claude_desktop_config.json:
{
  "mcpServers": {
    "spec-workflow": {
      "command": "npx",
      "args": ["-y", "@pimzino/spec-workflow-mcp@latest", "/path/to/your/project"]
    }
  }
}
Important: Run the dashboard separately with --dashboard before starting the MCP server.